Recording Zoom Sessions Locally
To avoid processing times for online recordings, it is possible to record your zoom meeting directly to your computer. These recording files can then be uploaded to Google Drive or other video streaming services to share with your students.
Start a Zoom meeting as the host and click the option to Record.
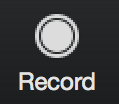
If there is a menu, select Record on this Computer.
Note: Dial-in participants will hear a message informing them that the meeting is now being recorded unless disabled by the host.

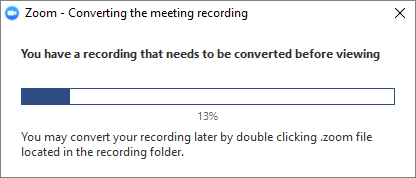
After the meeting has ended, Zoom will convert the recording so you can access the files.
Once the conversion process is complete, the folder containing the recording files
will open.
Note: By default, the audio/video file (MP4) will be named Zoom_0.mp4. The audio only file (M4A) is named audio_only.m4a.
To access recording files:
By default, all recordings will be placed in a Zoom folder found in the following file path on these devices:
- PC: C:\Users\UserName\Documents\Zoom
- Mac: /Users/UserName/Documents/Zoom
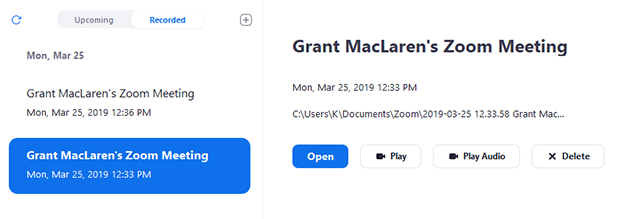
Open the Zoom desktop client and click Meetings.
![]()
Click the Recorded tab and select the meeting with a local recording.
Note:
- If you have a local recording that hasn't been converted to a video file yet, click Convert to convert the recording to a video file and display the options below.
- If you only see the Open option, it means the recording is a cloud recording.
To Upload to Blackboard
- Follow the steps outlined here, on Stockton's Blackboard Tutorial site.